Outlook Import/Export Folders Guide

Jul 16, 2025
 70
70
The purpose of this guide is to show how you can export Outlook email folders to save all emails found within the folder. It will also show how you can import it back into your Outlook application when you may need to view these emails.
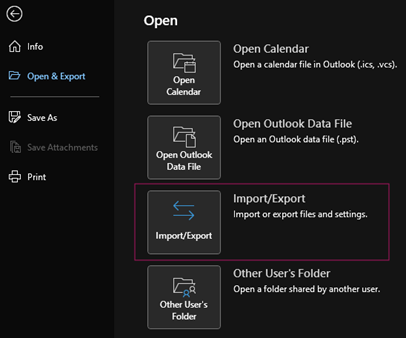
- Click “File.”
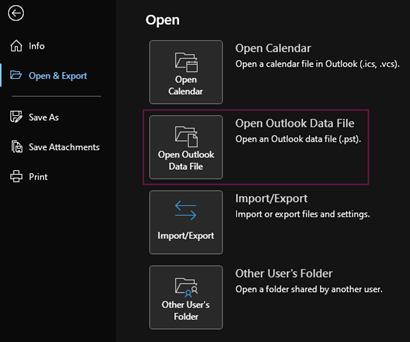
- Click “Open & Export,” then “Import/Export.”
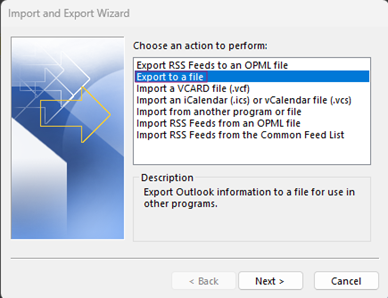
- Select “Export to a file,” then “Next”
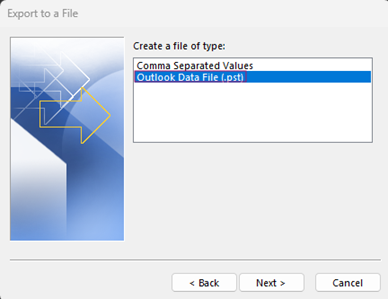
- Select “Outlook Data File,” then “Next.”
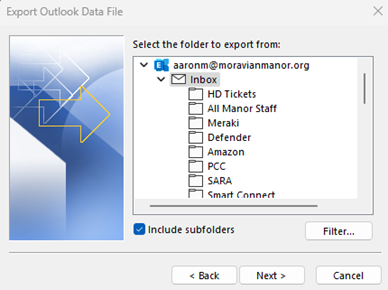
- Select the folder that is needing to be exported from your list, then “Next.”
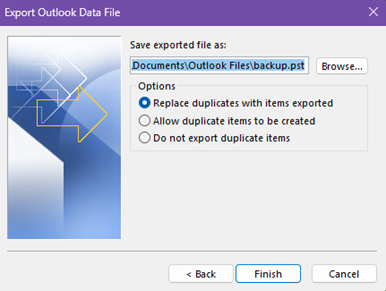
- The file will be saved to “\\fnd-fs1\Users\FirstL\Documents\Outlook Files.”
This can be moved to another location and renamed later as needed.
- Click “Finish”
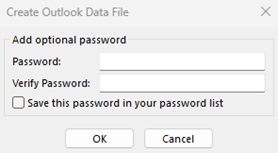
- If necessary, a password can be created to lock this file.
If a password is not needed, leave everything blank.
- Click “Ok.”
- When needed, you can open this file within Outlook.
- This will open a new section under your inbox labeled “Outlook Data File.”
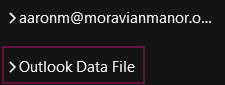
- You will also be able to right-click “Outlook Data File,” then “Close” when it does not need to be viewed.


